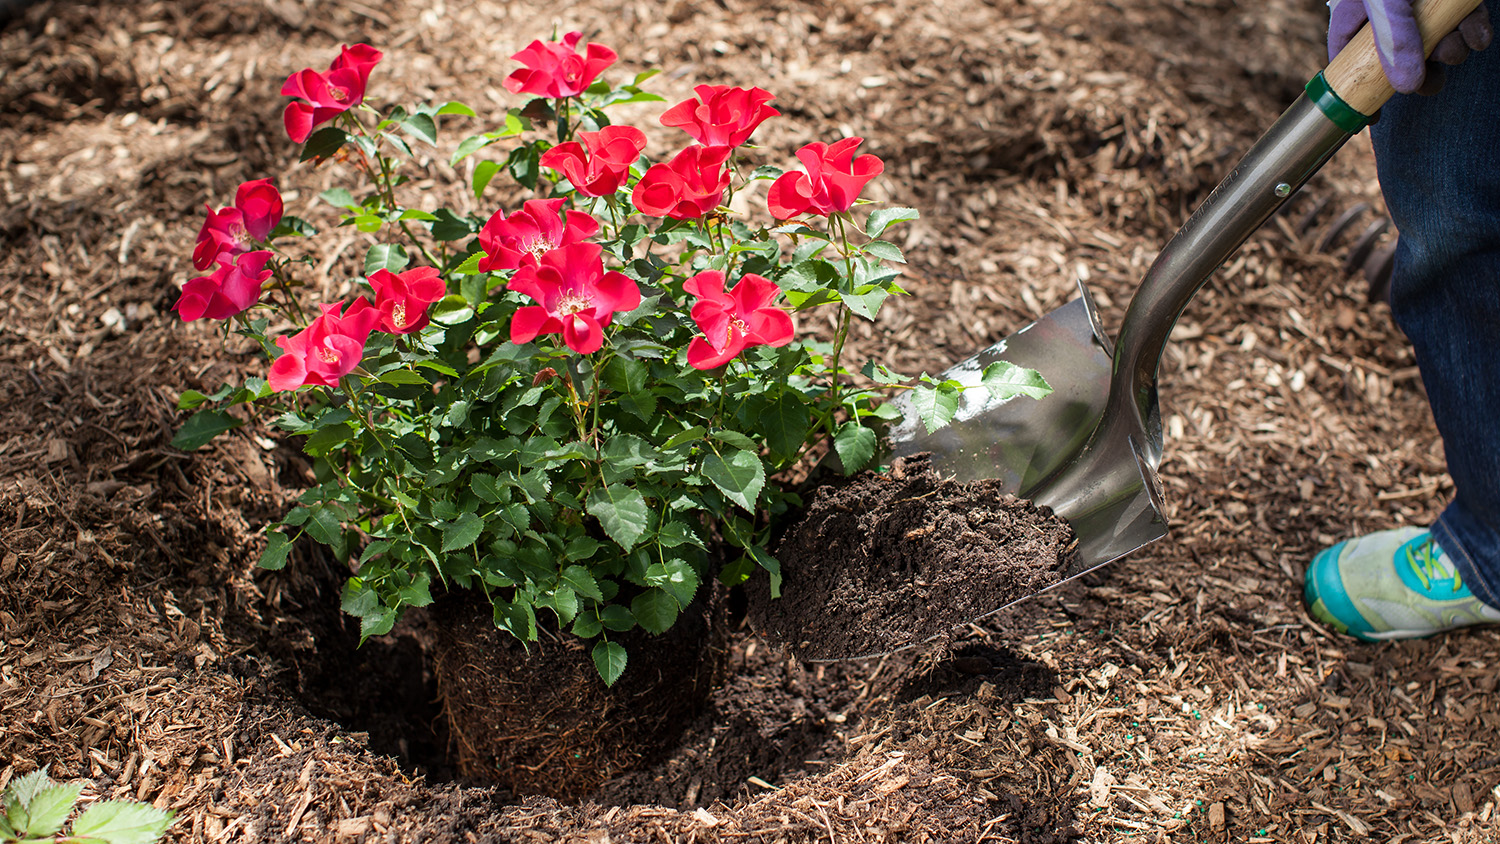
Do you know what kind of soil your roses prefer? Easy Elegance® roses prefer loam soil. This soil type is made up of an even mixture of sand, silt, and clay, giving it a great well-balanced texture. Additionally, loam soil has good water retention and has excellent drainage, which provides a healthy environment for roses to thrive.
To know whether you have loam soil or not, you will need to test your soil. Whether you’re a seasoned gardener or just starting out, understanding the soil in your landscape is crucial to the success of your hydrangeas. Soil testing can help you identify the type of soil you have and the nutrients it may lack, allowing you to select the right plants for your garden and make any necessary amendments to your soil.
Soil testing is important for a number of reasons. First, it can help you identify the type of soil you have. There are several different types of soil, including clay, sand, silt, and loam. Each type of soil has different properties that affect the growth of your plants. For example, sandy soil drains quickly, which can lead to dry soil and reduced plant growth. Clay soil, on the other hand, retains water well but can cause standing water, which many plants don’t thrive in.
Soil testing can also help you identify the pH level of your soil. pH is a measure of the acidity or alkalinity of your soil. Roses prefer to when they are planted in soil that has a slightly acidic pH (between 6.0 and 6.5). Add lime to raise the pH of your soil. Add sulfur to lower the pH of your soil. Each process is simple, all you need to do it purchase lime or sulfur at your local garden center and apply following the directions on the packaging.
In addition to identifying the type of soil and pH level, soil testing can also help you identify any nutrient deficiencies in your soil. Plants need a variety of nutrients to grow, including nitrogen, phosphorus, and potassium.
There are a few different methods for testing your soil. Whether you choose to do so at home or have professionals do the testing, testing your soil can be done in a few simple steps.
Soil testing kits are a quick and easy way to test your soil at home. They typically include a test tube, a pH test strip, and a color chart to help you interpret the results. These kits are easy to use and find as you can pick them up at your local garden center or home improvement store.
To use a soil testing kit, follow these steps:
Another easy, at-home soil test is the jar test. With this one you only need a clear jar, a garden trowel, ruler, and calculator.
To do a jar test, follow these steps:
If you prefer someone else do this soil test, contact your local university extension office. Many offer soil testing services where you can drop samples off for testing. These offices will provide you with step-by-step instructions on how to take a soil sample and the process for dropping off that sample for testing.
Once you’ve completed your soil test and you have an answer for what type you’re working with, it’s time to understand what your soil needs from you.
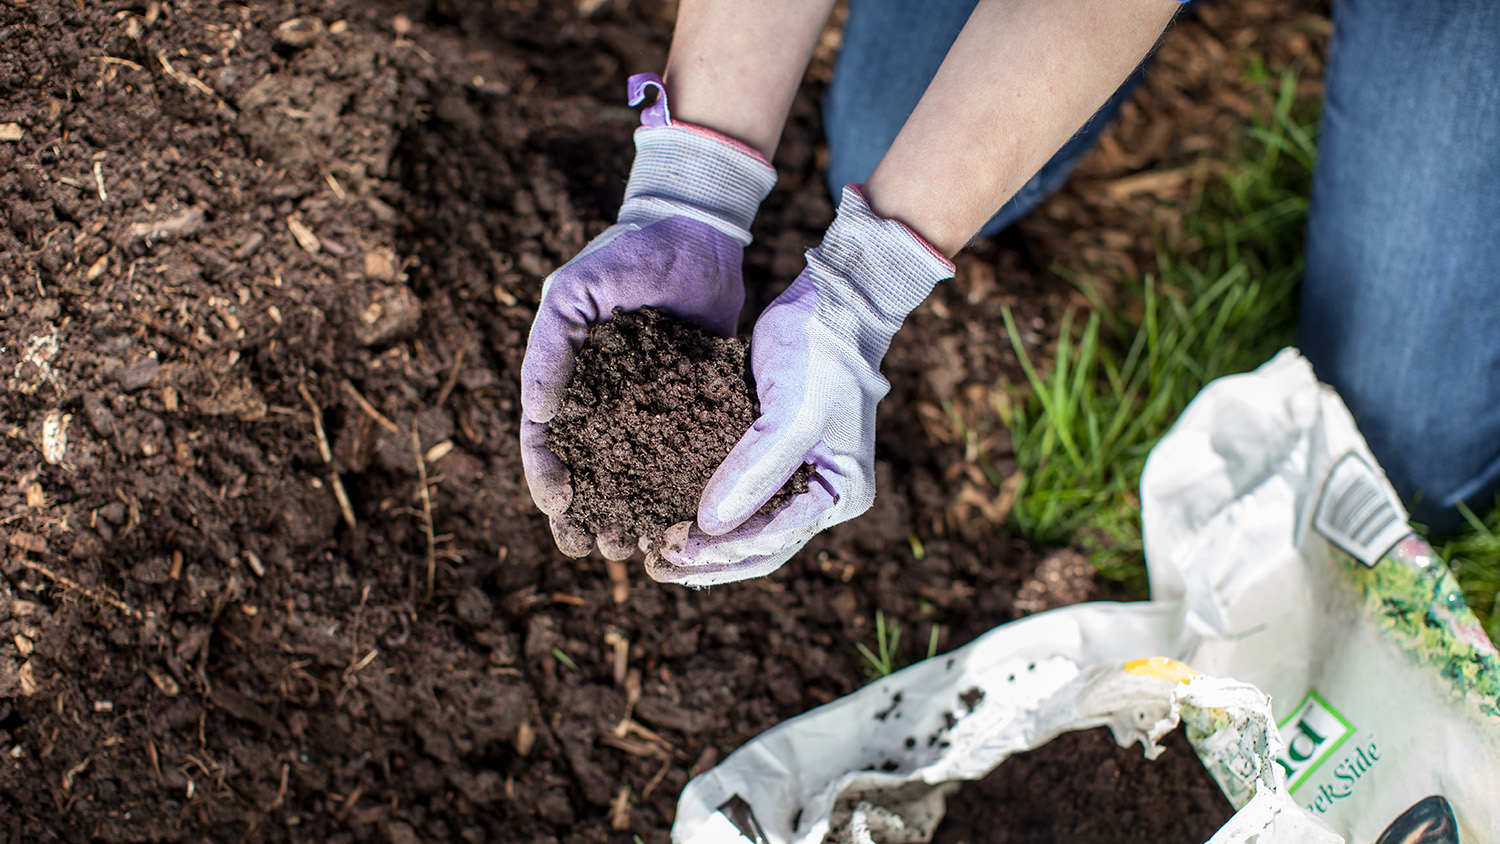
Sandy soil means that water and nutrients may run away from the root system of your plants fairly quickly. But that’s not necessarily a bad thing! Some plants, like First Editions® Groovy Grape™ Butterfly Bush, Cobalt-n-Gold™ Hypericum, and other drought-tolerant plants can naturally survive and thrive in sandy soil. If you want to plant roses in sandy soil, amend your soil with compost to help increase water retention and boost nutrient levels.
Silt soil is a like the best of both worlds. The silt particles are in between the size of sand and clay, so it can retain moisture and nutrients without being so compact that you don’t have any drainage. This soil is great for plants like First Editions® Neon Burst™ Dogwood and Fiber Optics® Buttonbush that thrive in well-drained soil, but also can tolerate being in standing water. But, if you want to feature roses in your garden, you can add organic material like compost to your soil to help improve the soil structure.
Clay soil is made up of fine particles which make it heavy and dense, meaning that it’s hard for oxygen and water to move around the soil. Many plants have issues establishing roots when planted in clay soil. There are some plants that can tolerate clay soil, like dogwoods, spirea, and even First Editions® Tianshan® Seven-Son Flower, to name a few. However, if you have clay soil and you want to plant roses, it’s recommended that you amend your soil with organic material like compost to help improve soil structure, increase drainage, and boost nutrient levels.
Like we mentioned before, loam is looked at as the ideal type of soil for gardens! You’re in luck if you have loam soil as your roses will naturally thrive in your space. Remember that loam soil is made up of an even mixture of sand, silt, and clay, giving it a great well-balanced texture. Loam soil has good water retention and has excellent drainage, which provides a healthy environment for hydrangeas to thrive.
Be sure to subscribe to the monthly Easy Elegance ® newsletter for inspiration and timely tips to keep your roses healthy and thriving all season long!